
Captions do not have to sit at the bottom. In the editor you drag them anywhere on the video and snap them to guides. A drag moves every subtitle, and one click keeps the move on a single subtitle instead. The position is saved with the track and used when you export a video with burned-in subtitles.
Click the subtitle on the video
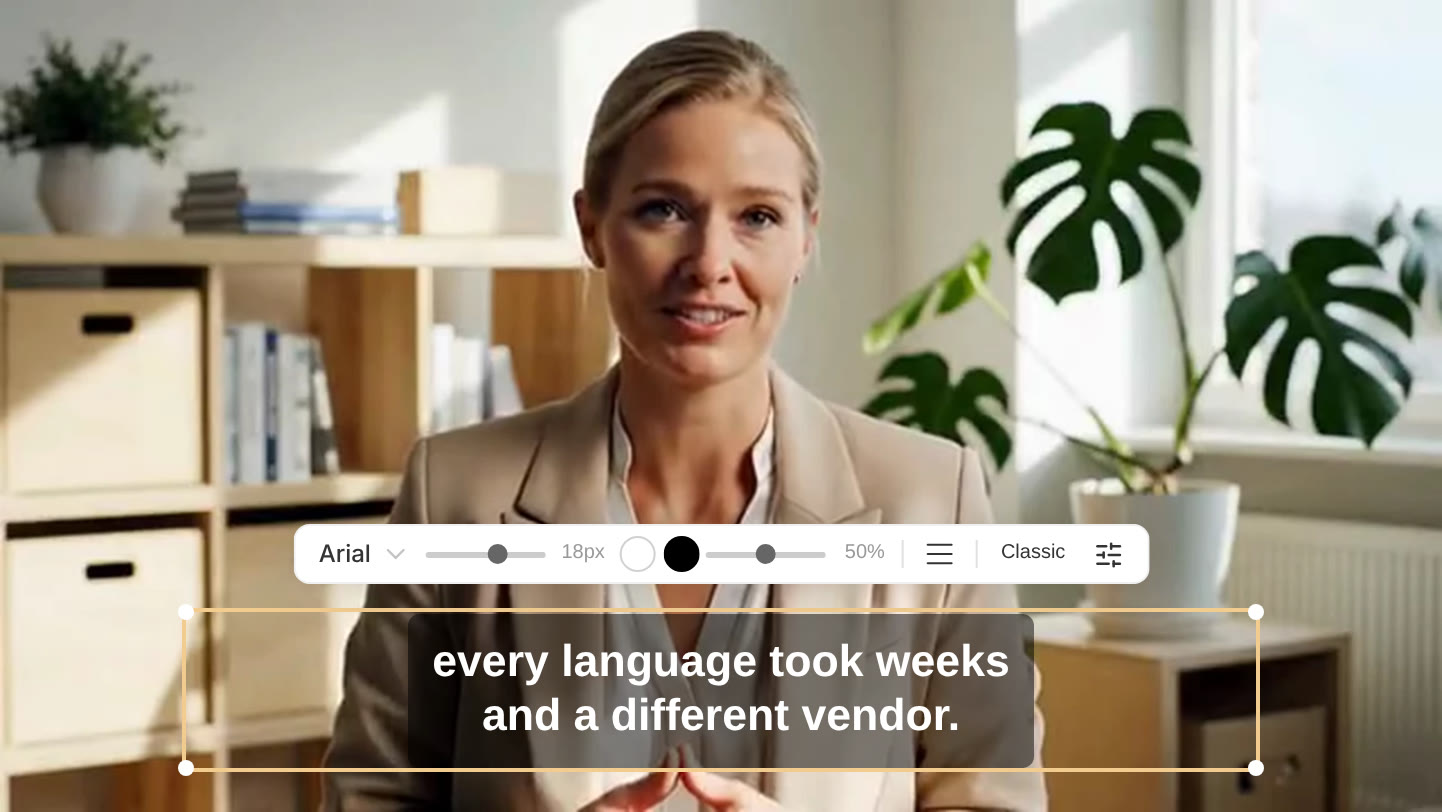
Open the track in the editor. Click the subtitle in the video preview: a small floating toolbar appears above it with the font, size, colour and text alignment controls. At its end, the name of the caption style opens the list of styles, and the button beside it opens Customize in the Caption style panel. The video pauses as soon as you start dragging, so you never lose the frame you were looking at.
Drag it into place
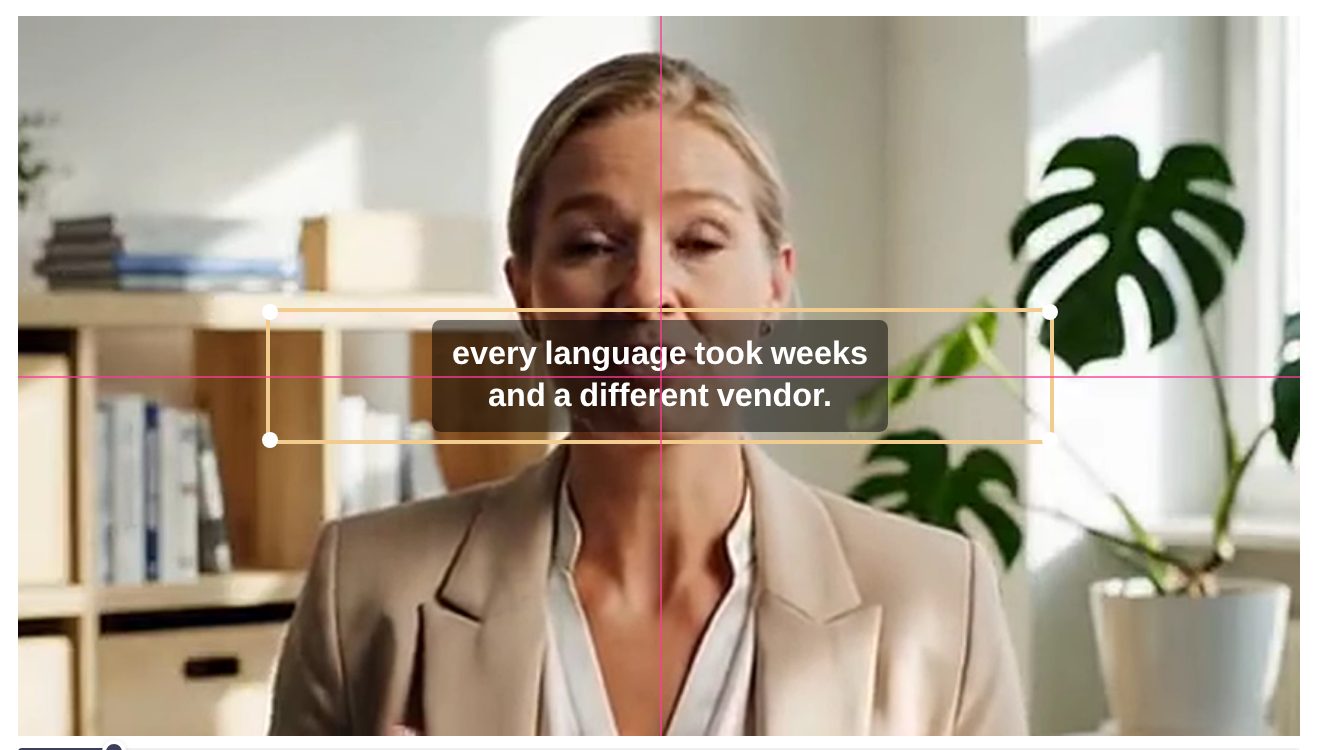
Drag the subtitle to where you want it. Pink guide lines appear as you move: one at the centre and one at 5% from each edge, horizontally and vertically. The subtitle snaps to them when it gets close, so lining captions up exactly takes no effort. On portrait videos there is one more guide, labelled Social Media Safe Zone, at three quarters of the height: it keeps captions clear of the buttons and text that Instagram, TikTok and YouTube Shorts draw over the bottom of the screen.
All subtitles, or only this one
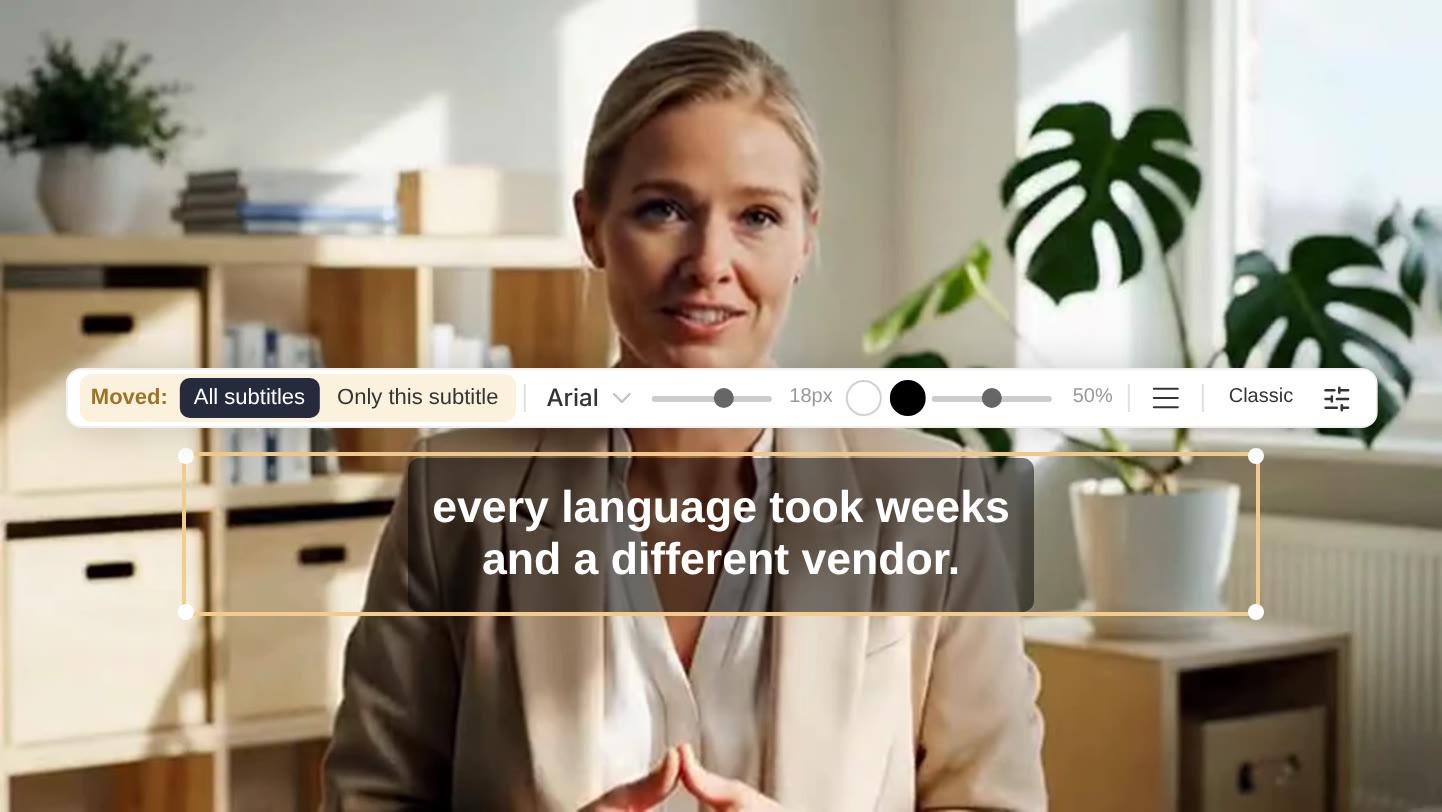
When you let go, every subtitle in the track has moved, and the toolbar comes back over the one you dragged with Moved: All subtitles and Only this subtitle. Click Only this subtitle to put all the others back where they were. A subtitle with a place of its own is handy when a caption would cover a name strip or an on-screen title for a few seconds. The choice stays on offer until you click elsewhere, play the video or select another subtitle.
Dragging always moves every subtitle, including any you placed on their own before, so move the track first and the exceptions last.
Set the alignment
In the floating toolbar, Text alignment offers Auto, Left, Center and Right. Unlike moving, alignment changes only the selected subtitle: the message that follows, "Aligned this subtitle only.", has an Apply to all subtitles button. For the whole track at once, use Position (Left, Centre or Right) at the bottom of the Customize tab in the Caption style panel.
Good to know
- The corner handles change the size, not the box. Dragging one of the four white circles makes the text bigger or smaller (5 to 26 px). To change how much text fits on a line, use the Rules button above the subtitle list instead: see Font size and characters per line.
- Red edges mean the text does not fit. If part of a subtitle falls outside the picture, the editor outlines that part in red. Shorten the lines, reduce the size or move the caption until the red disappears; otherwise it will be cut off in the export.
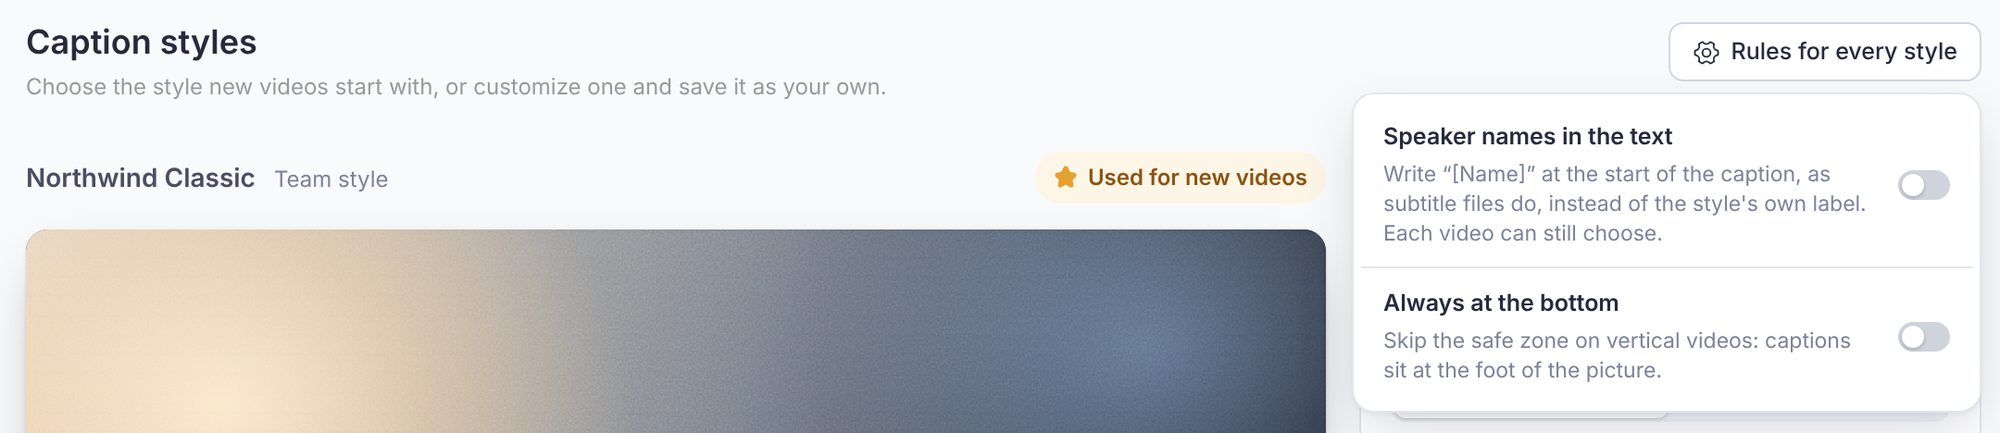
- Vertical videos and the safe zone. If you would rather keep captions at the very bottom of portrait videos, open Workspace Settings, Caption styles, click Rules for every style and turn on Always at the bottom. It skips the safe zone for videos uploaded after you turn it on.
- Back to the default. There is no reset button: drag a subtitle back onto the bottom-centre guides, and all of them follow.
- Subtitle files ignore position. SRT, VTT and the other text formats have no reliable way to carry it; the position shows in the editor and in burned-in exports.