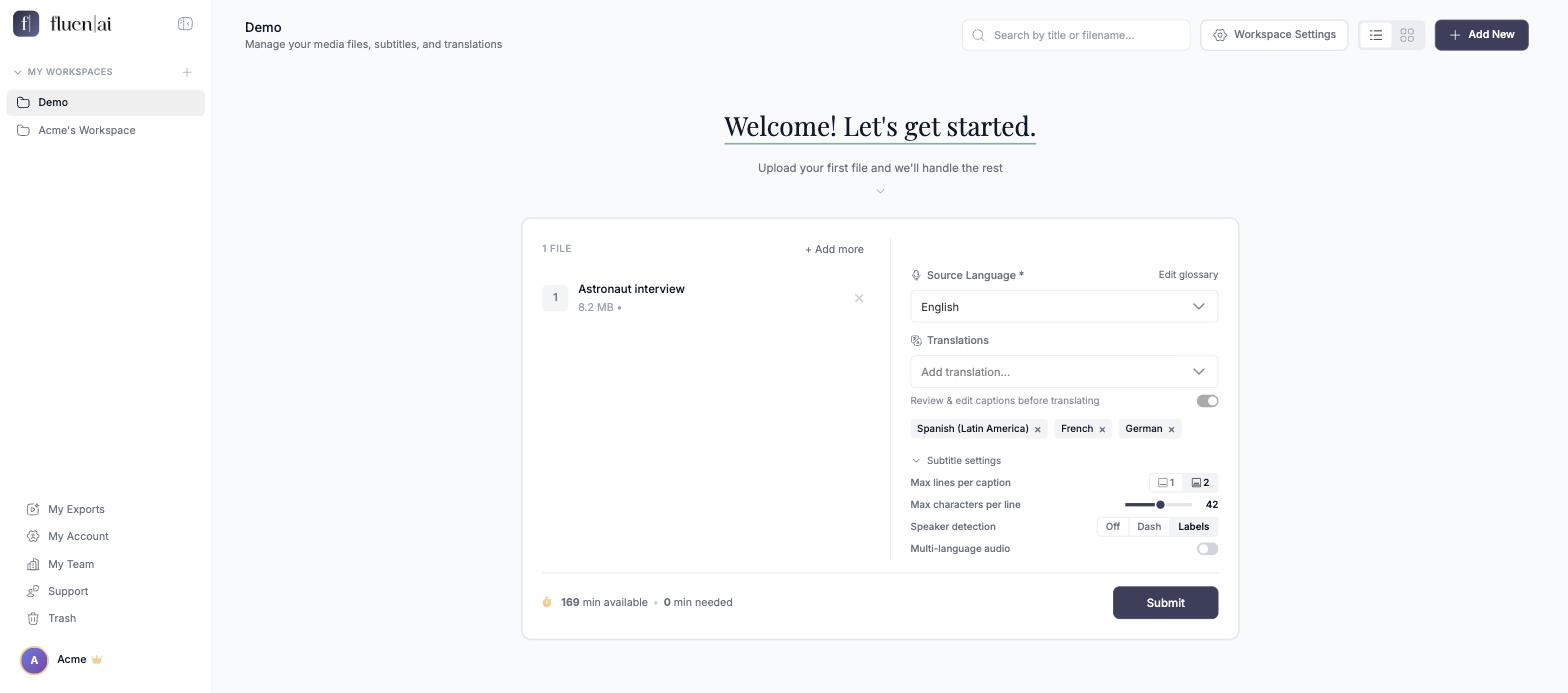

Every new upload starts from your workspace defaults: which language is spoken, how speakers are marked, whether you review the captions before translating, which languages to translate into, and how the subtitles look. Set them once and the upload screen is pre-filled the way you like.
Open Workspace Settings
Open the workspace in the library and click Workspace Settings at the top, next to the search box. The settings page has a menu of its own: Subtitle Defaults, Subtitle Limits, Glossary, Caption styles and Members. Every change saves by itself; there is no Save button to look for.
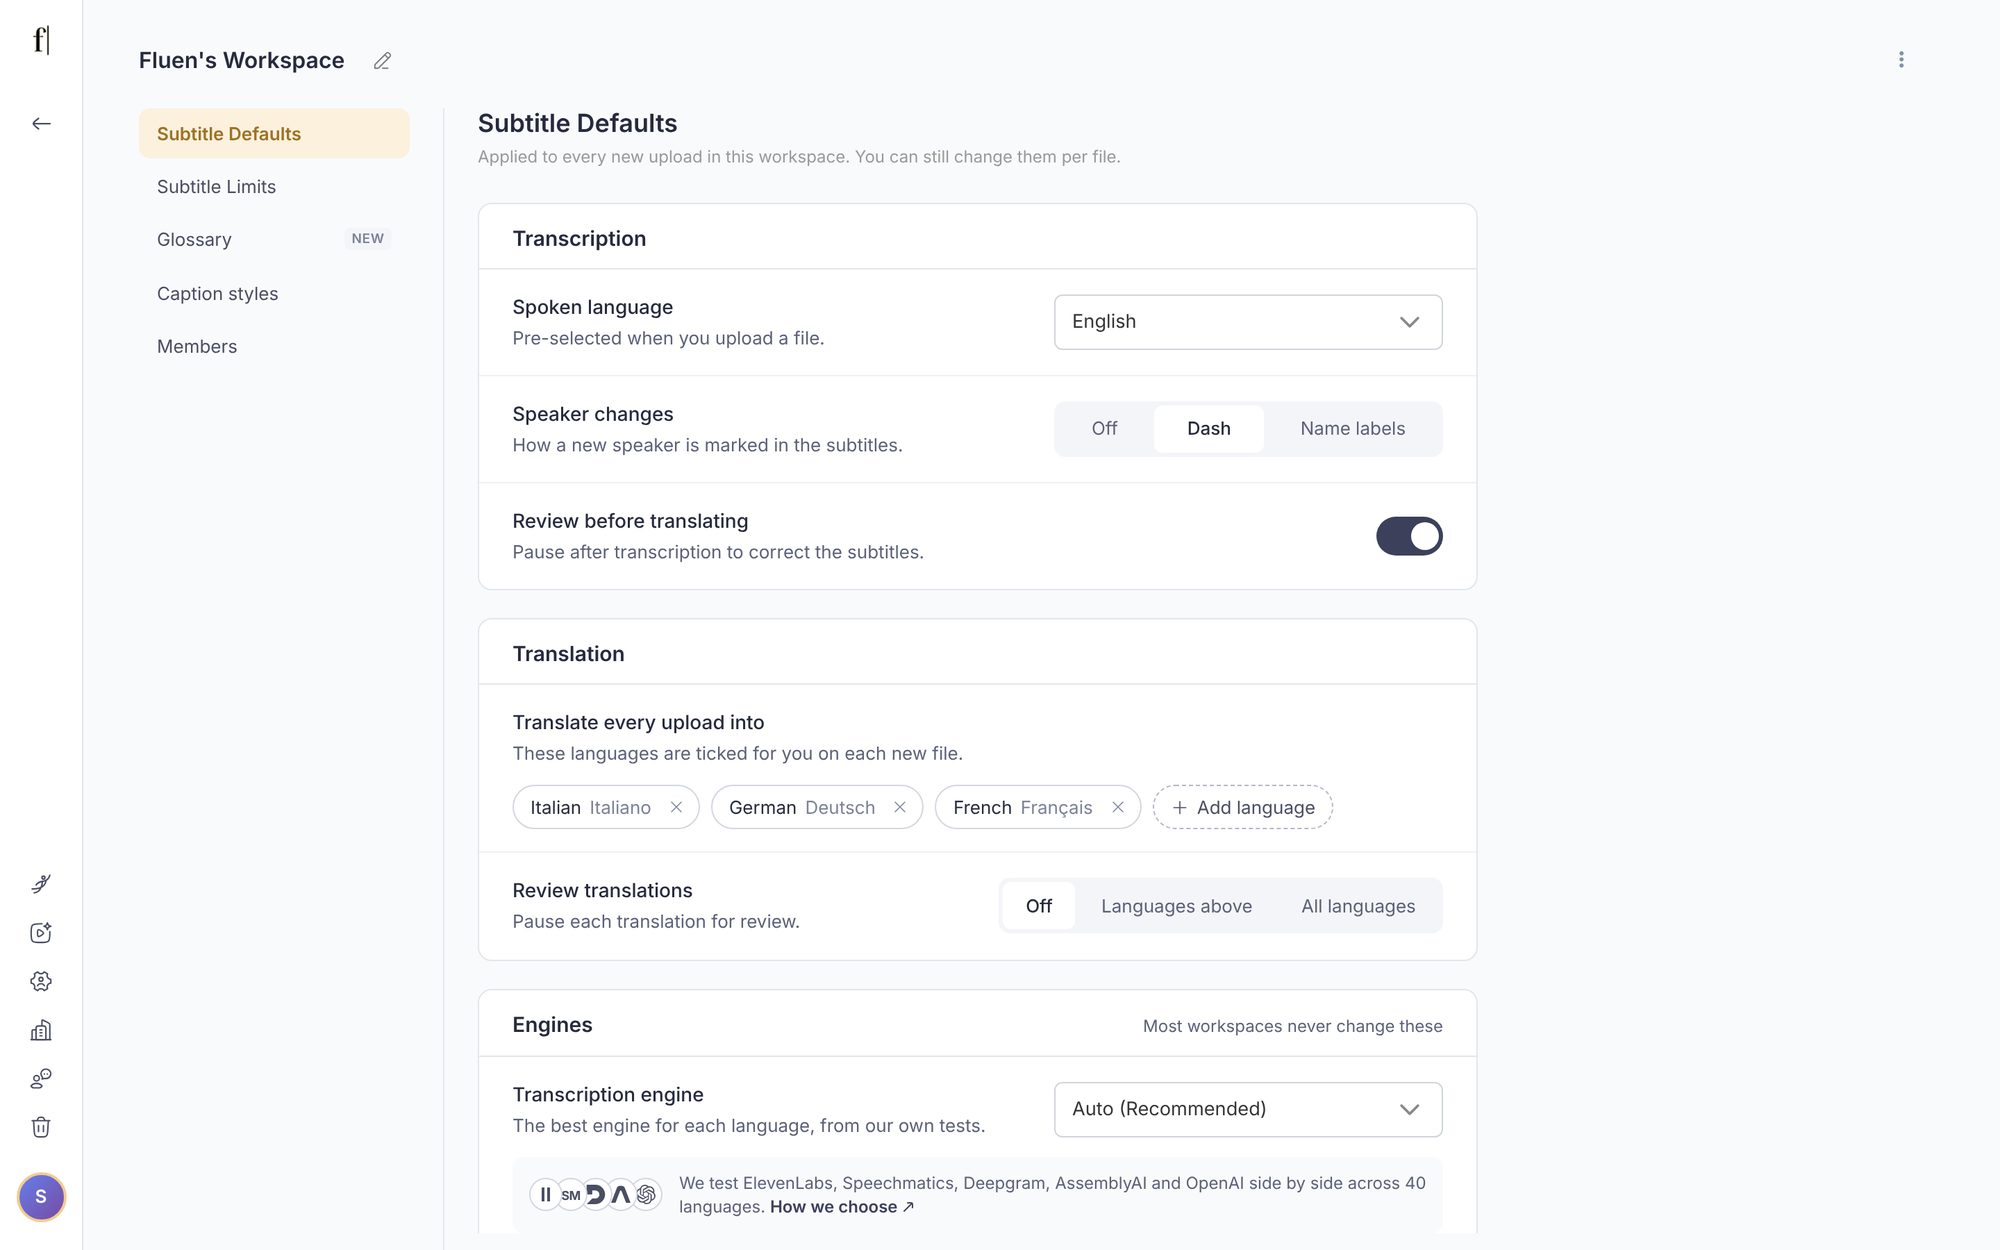
Subtitle Defaults: transcription
Subtitle Defaults is one page with three cards. The first, Transcription, covers the captions in the language spoken in the file:
- Spoken language: the language spoken in most of your files. It is pre-selected on every upload; you can still change it per file. There is a Detect automatically option, but picking the language yourself is more reliable.
- Identify who is speaking: off by default. Turn it on and Show as sets how a new speaker is marked: Dashes (a dash on each change of speaker) or Names (the speaker's name). See Speaker identification.
- Let me review the subtitles before translating: when the switch is on, Fluen pauses after transcription so you can correct the captions first. When it is off, translations start as soon as the captions are ready. If you translate, reviewing first is worth the minute it takes, because every translation is made from the captions.
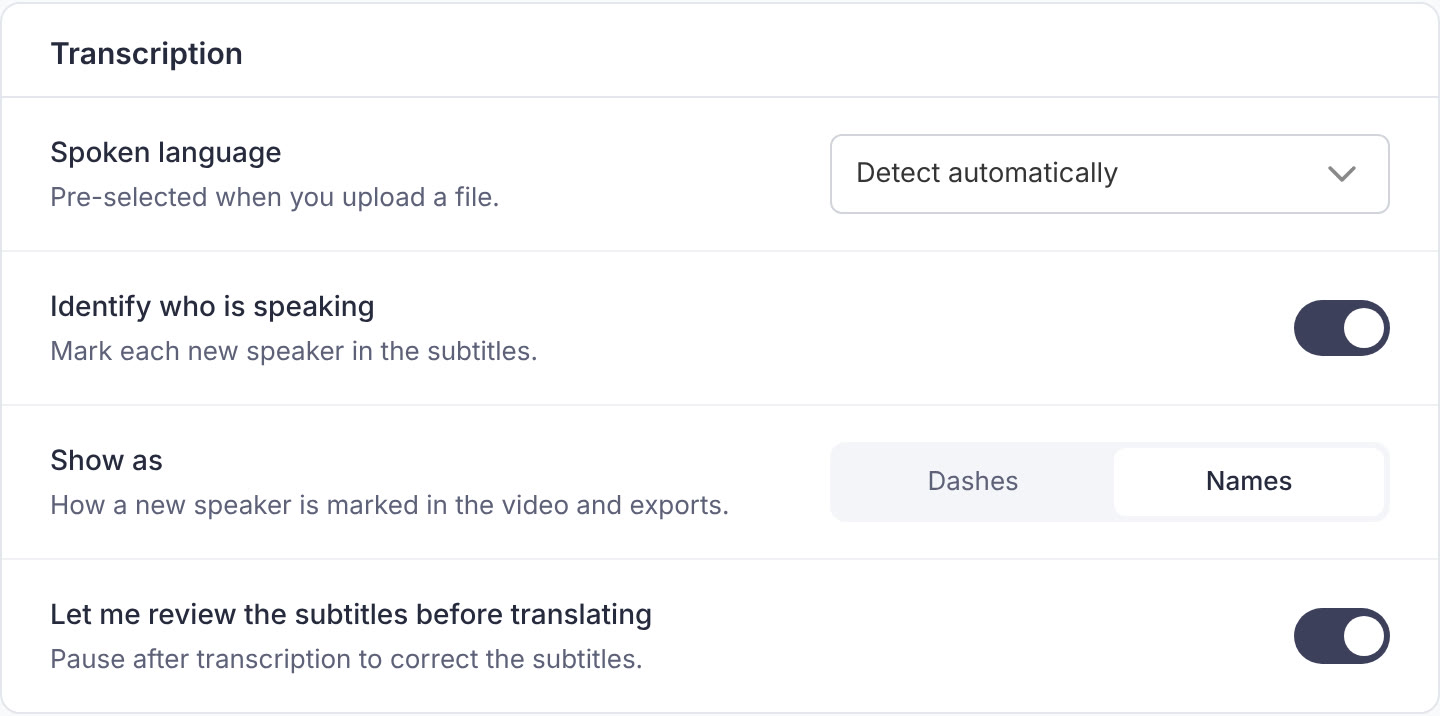
Subtitle Defaults: translation
The second card, Translation, covers the languages you translate into:
- Translate every upload into: the languages ticked for you on each new file. Click Add language to add one, and the cross on a chip to remove it. You can still untick a language on the upload screen when a file does not need it.
- Review translations: Off, Languages above (pause for review only the languages in this list) or All languages.
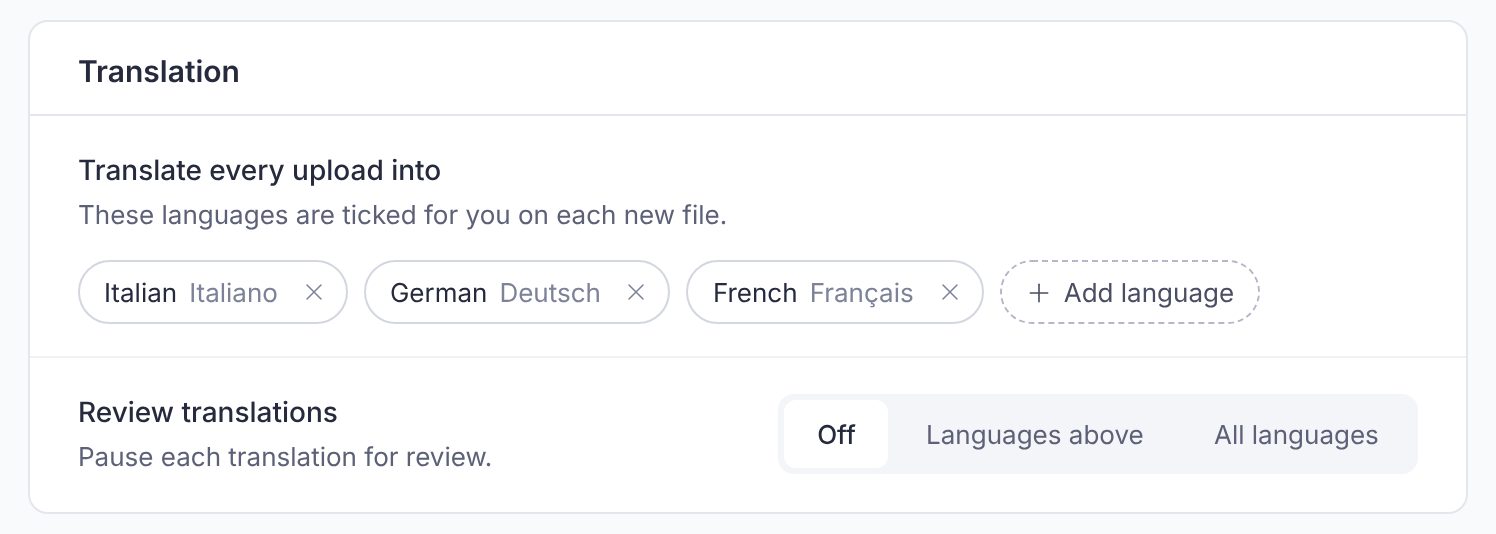
Subtitle Defaults: engines
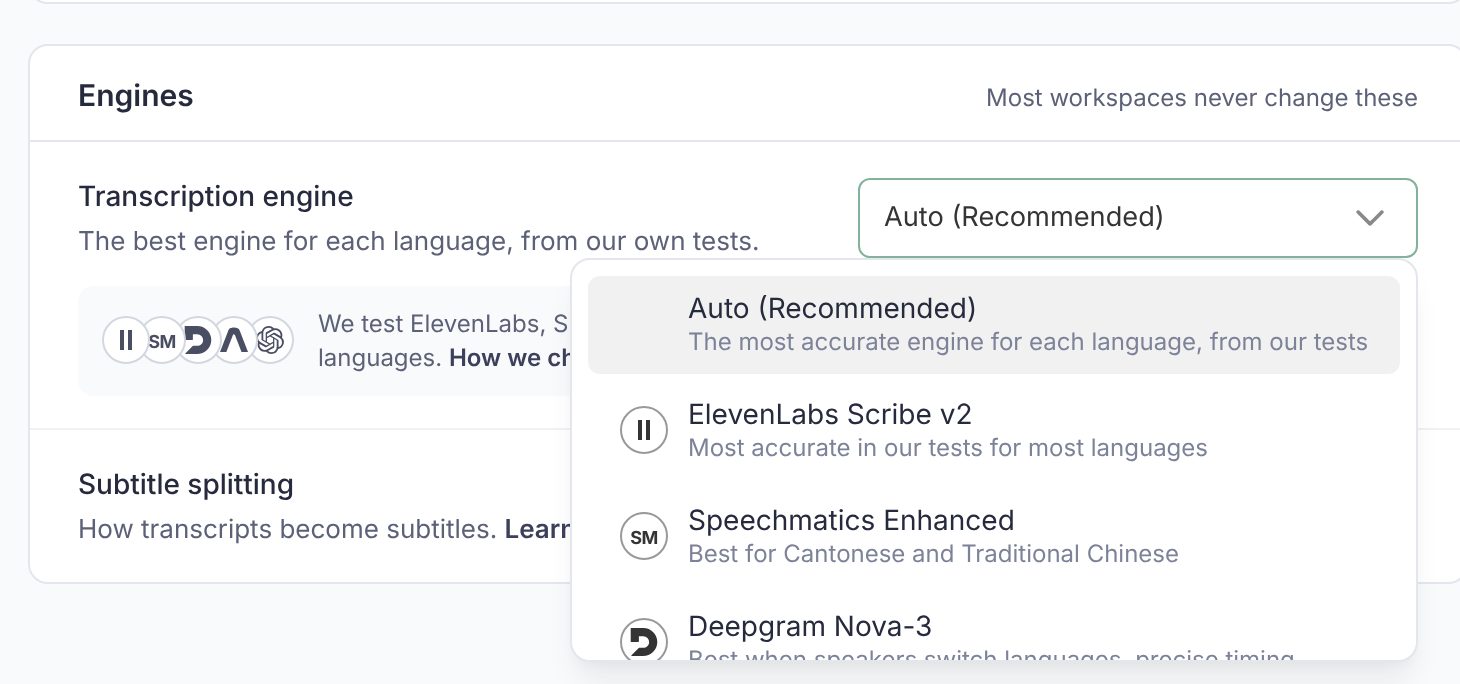
Most workspaces never change the third card, Engines:
- Transcription engine: Auto (Recommended) sends each language to the engine that did best in our own tests. You can pin one instead (ElevenLabs Scribe v2, Speechmatics Enhanced, Deepgram Nova-3, AssemblyAI Universal, OpenAI Whisper or Deepgram Whisper), and it is then used for every file, even where another engine tested better. How we choose: transcription engines overview.
- Subtitle splitting: how transcripts become subtitles. Auto (Recommended) picks a method by file length and language; Standard gives fast, grammar-aware line breaks; Smart follows meaning across sentences and is slower. See the subtitle splitting overview.
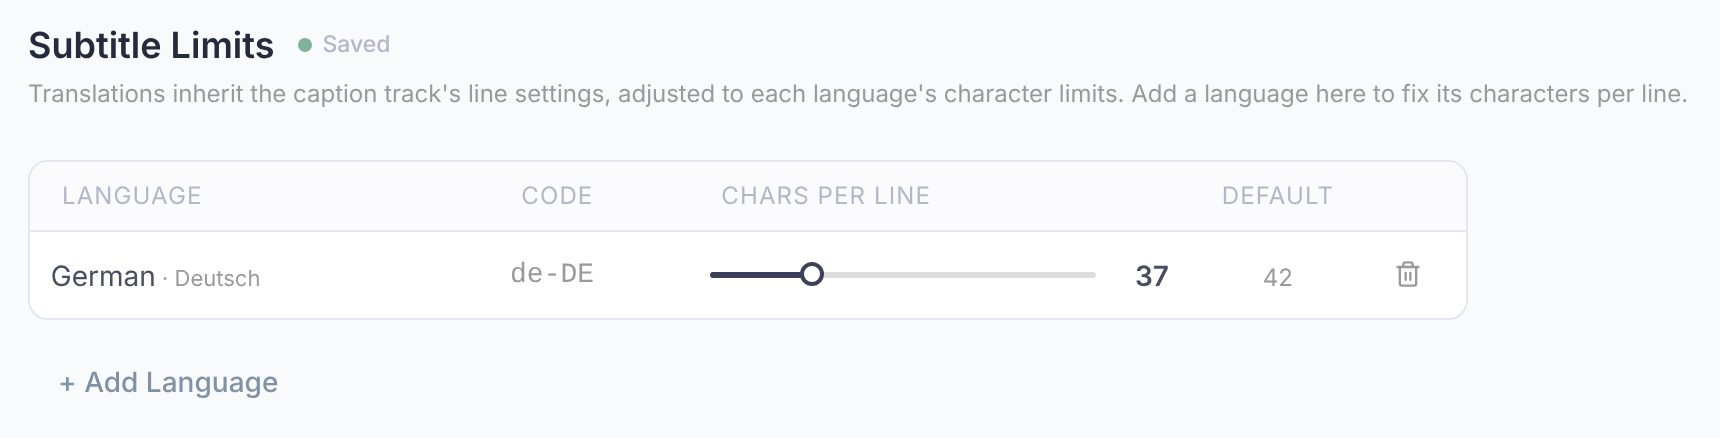
Subtitle Limits: characters per line, per language
Translations inherit the line settings of the caption track, adjusted to each language's own default line length. If a client's style guide demands a fixed value for a language, open Subtitle Limits, click + Add Language, pick the language and set its Chars per line. The override is applied to every new translation in that language. Subtitle Limits are available on every plan. The reasoning behind the per-language defaults is in the FAQ: why some languages have different defaults.
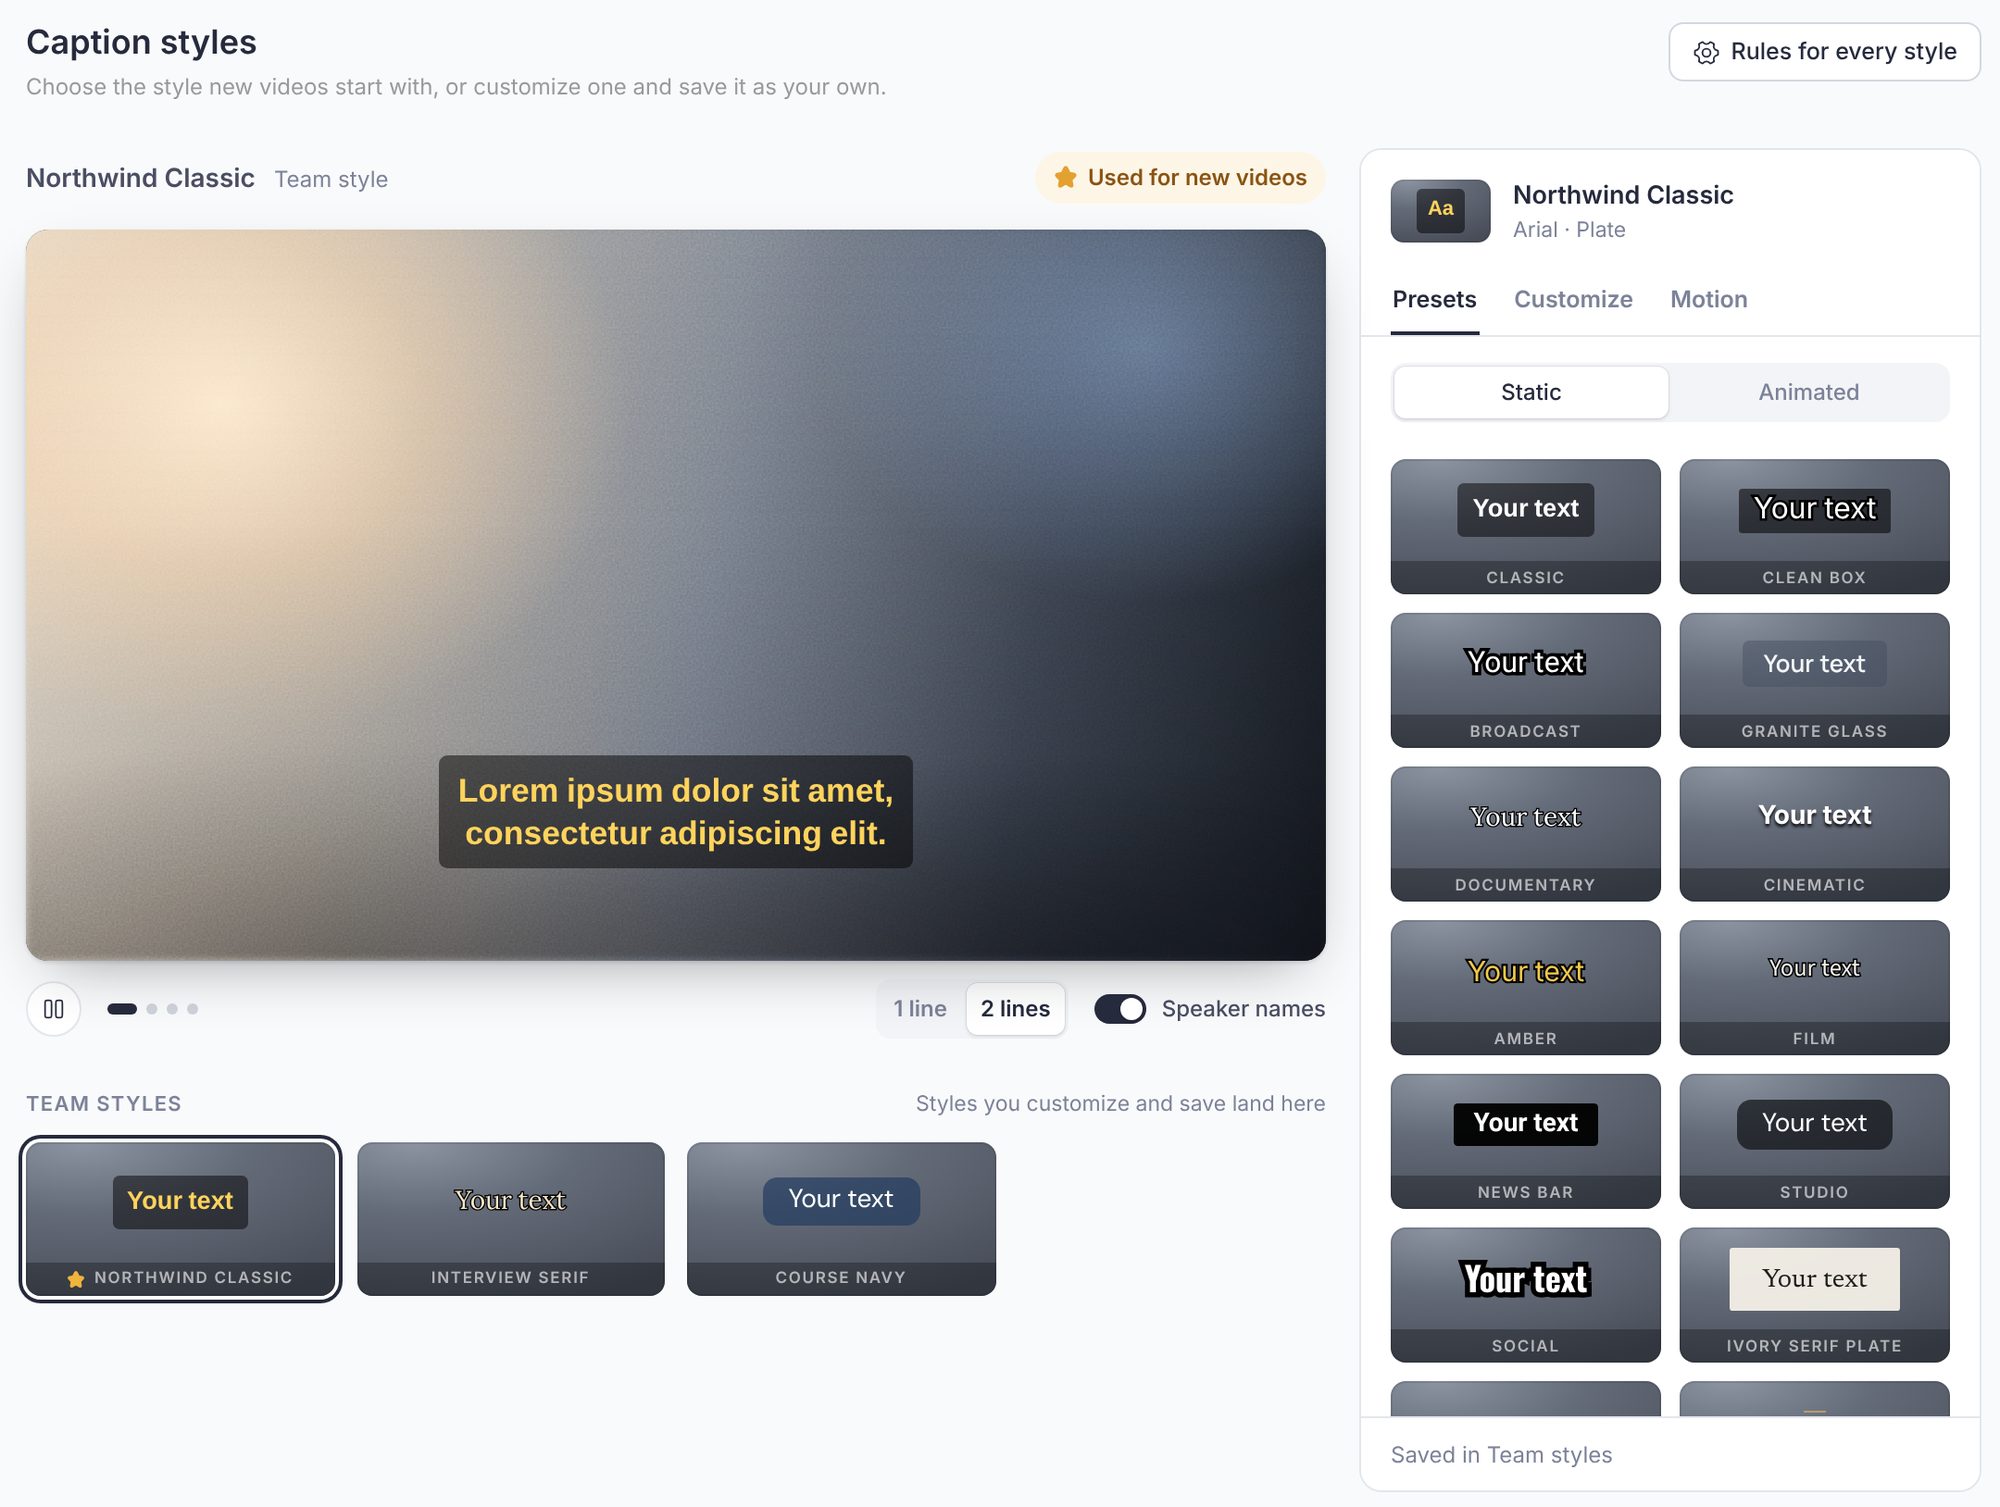
Caption styles: how new videos look
Open Caption styles to choose the style every new video starts with. Pick one of the built-in presets or a style your workspace has saved, check it in the preview, and click Use for new videos; a star marks the current choice. Rules for every style holds two workspace-wide switches: Speaker names in the text and Always at the bottom. Any video can still be restyled in the editor. The whole page is covered in Caption styles and dynamic captions.
Per-upload settings
On the upload screen, the collapsible Subtitle settings section shows what this particular file will use: Max lines per caption (1 or 2), Max characters per line (20 to 60; the default depends on the language and the video's aspect ratio), Speaker detection and the Multi-language audio switch for files with more than one spoken language. Changing them here affects only this upload.