

Fluen Studio turns a video or audio file into subtitles, translates them, and gives you the result as a subtitle file, a transcript, or a video with the captions burned in. This page walks the whole path once, in order, with pointers to the detailed guides. Ten minutes of reading, and the rest of the Help Center will feel familiar.
Add a video or audio file
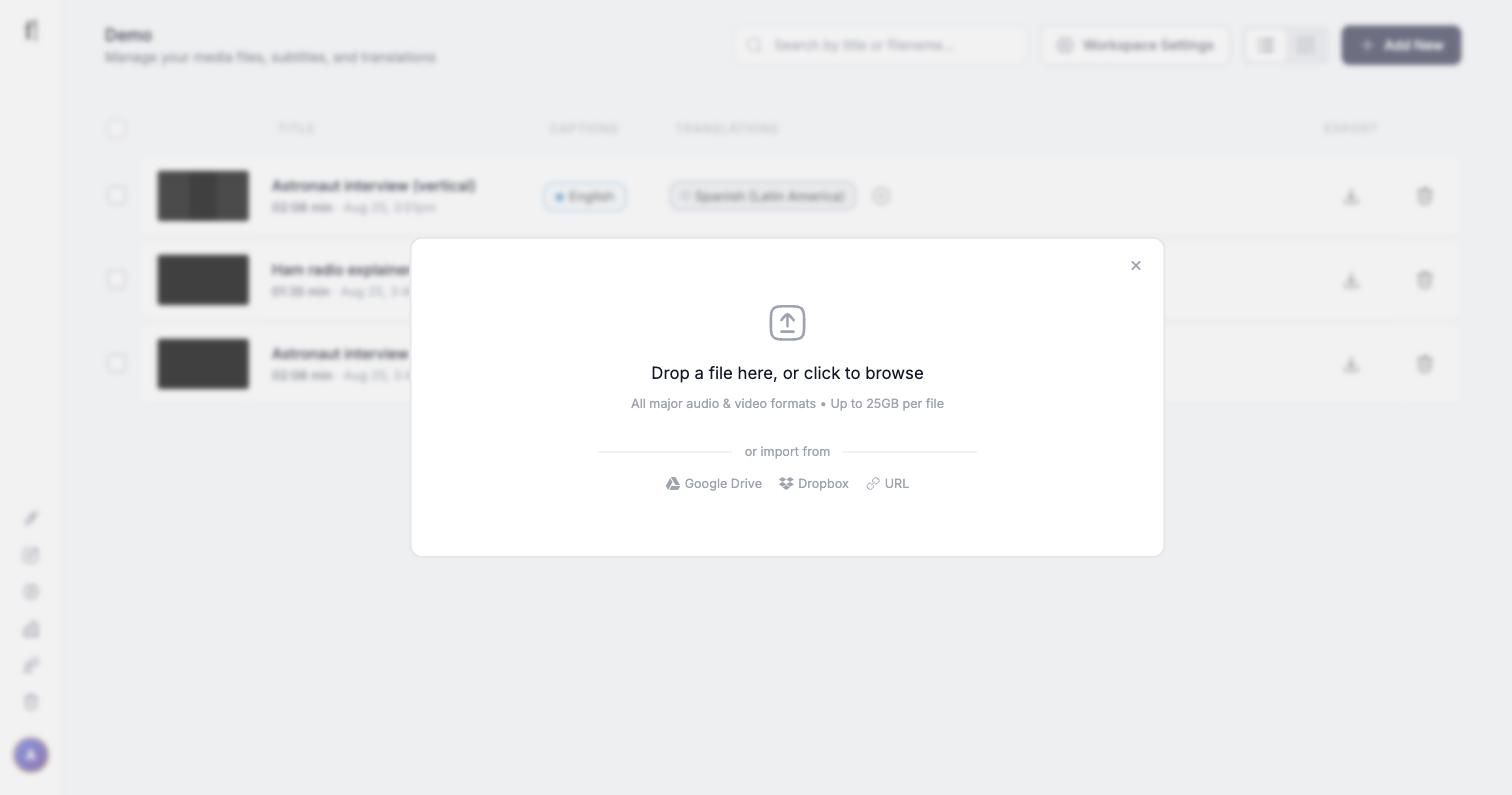
In your workspace, click Add New, then drop a file on the dialog or click to browse. All common audio and video formats work, up to 25 GB per file. You can also pull a file straight from Google Drive or Dropbox, and on paid plans from a public URL too (YouTube links are not supported). Paid plans can also queue up to 50 files at once with + Add more.
Tell Fluen which language is spoken
The Source Language field is the one setting worth a second of thought. Pick the language actually spoken in the recording. There is an Autodetect option, and we recommend against it as a habit: guessing the language from a few seconds of audio is not reliable, and a wrong guess produces a transcript that looks fluent but is in the wrong language, which you only discover after the credits have been spent. If you always work in one language, set it once as the workspace default so it is pre-selected on every upload.
Choose translations and the subtitle settings
Under Translations, add the languages you need; each one becomes its own track and is charged per minute, like the captions. Leave Review & edit captions before translating on if you translate: a minute spent fixing a name or a mumbled word in the captions improves every translation made from them. Subtitle settings holds the layout choices (lines per subtitle, characters per line), speaker detection (labels, dashes, or off), and the multi-language switch. When the summary at the bottom shows the minutes needed, click Submit.
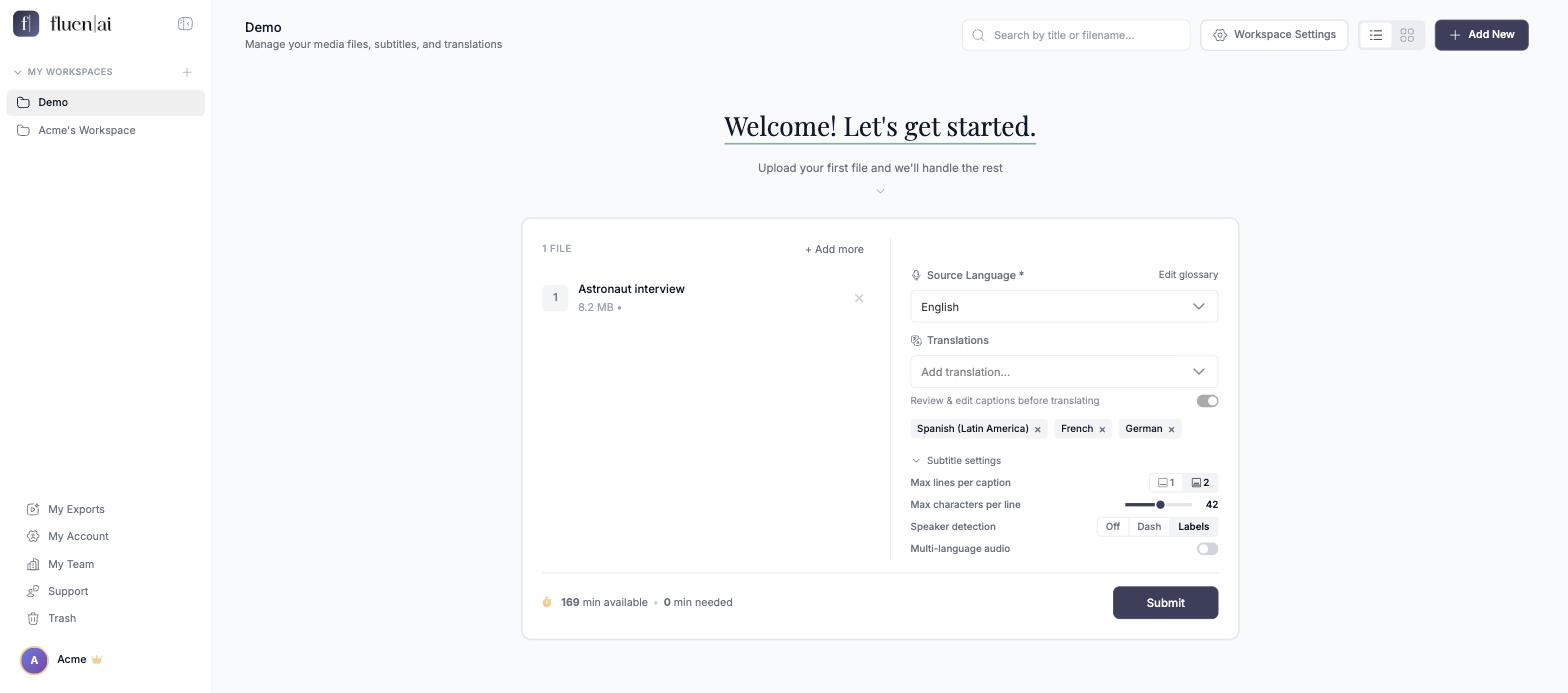
Every one of these choices has a workspace default, so a well-set workspace makes upload a two-click affair: Set your default subtitle specifications. Names and terms the AI should get right every time go in the glossary, reachable from the upload screen via Edit glossary.
Wait a few minutes, then review
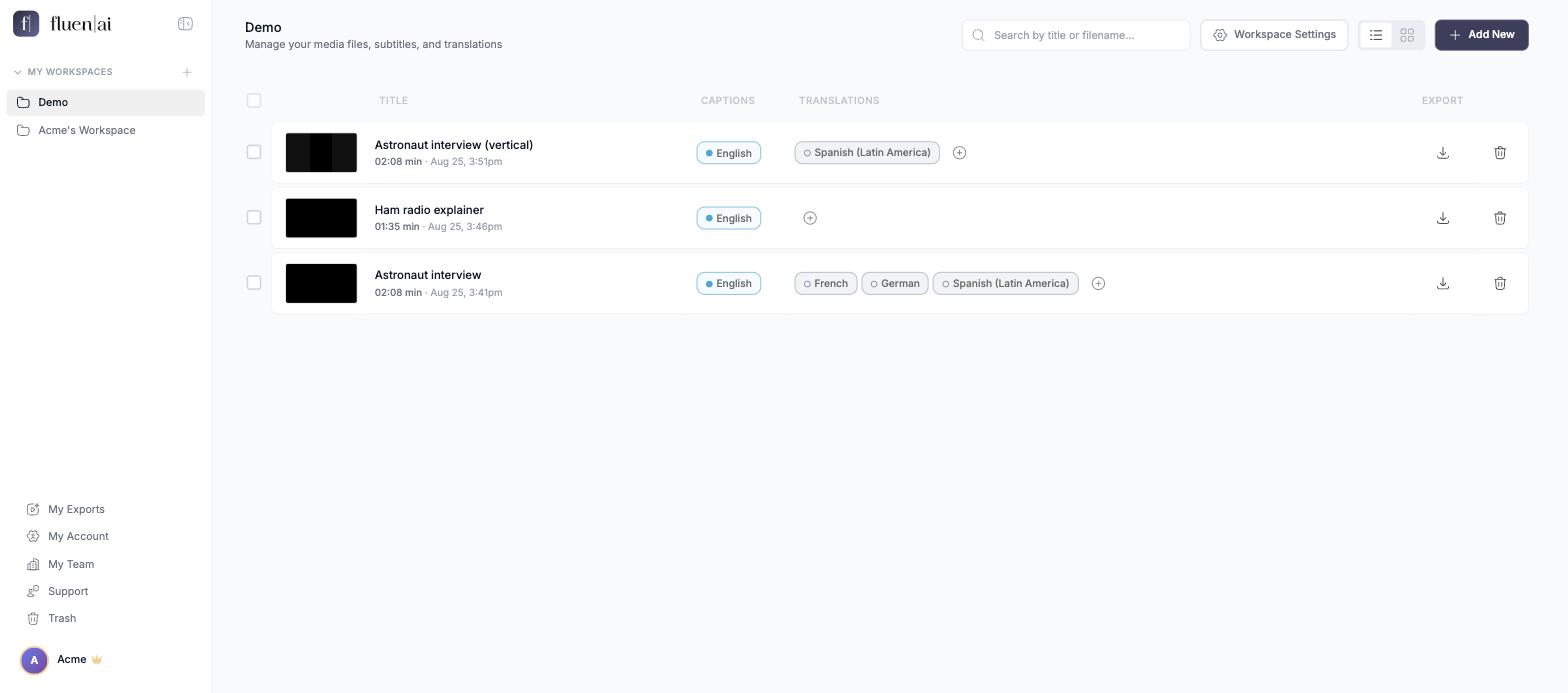
Back in the library, the new row shows the progress. Processing usually takes less than half the duration of the file: the audio is transcribed, then split into well-timed subtitles. When the caption chip turns blue, the captions are waiting for you In Review. Click the chip to open the editor.
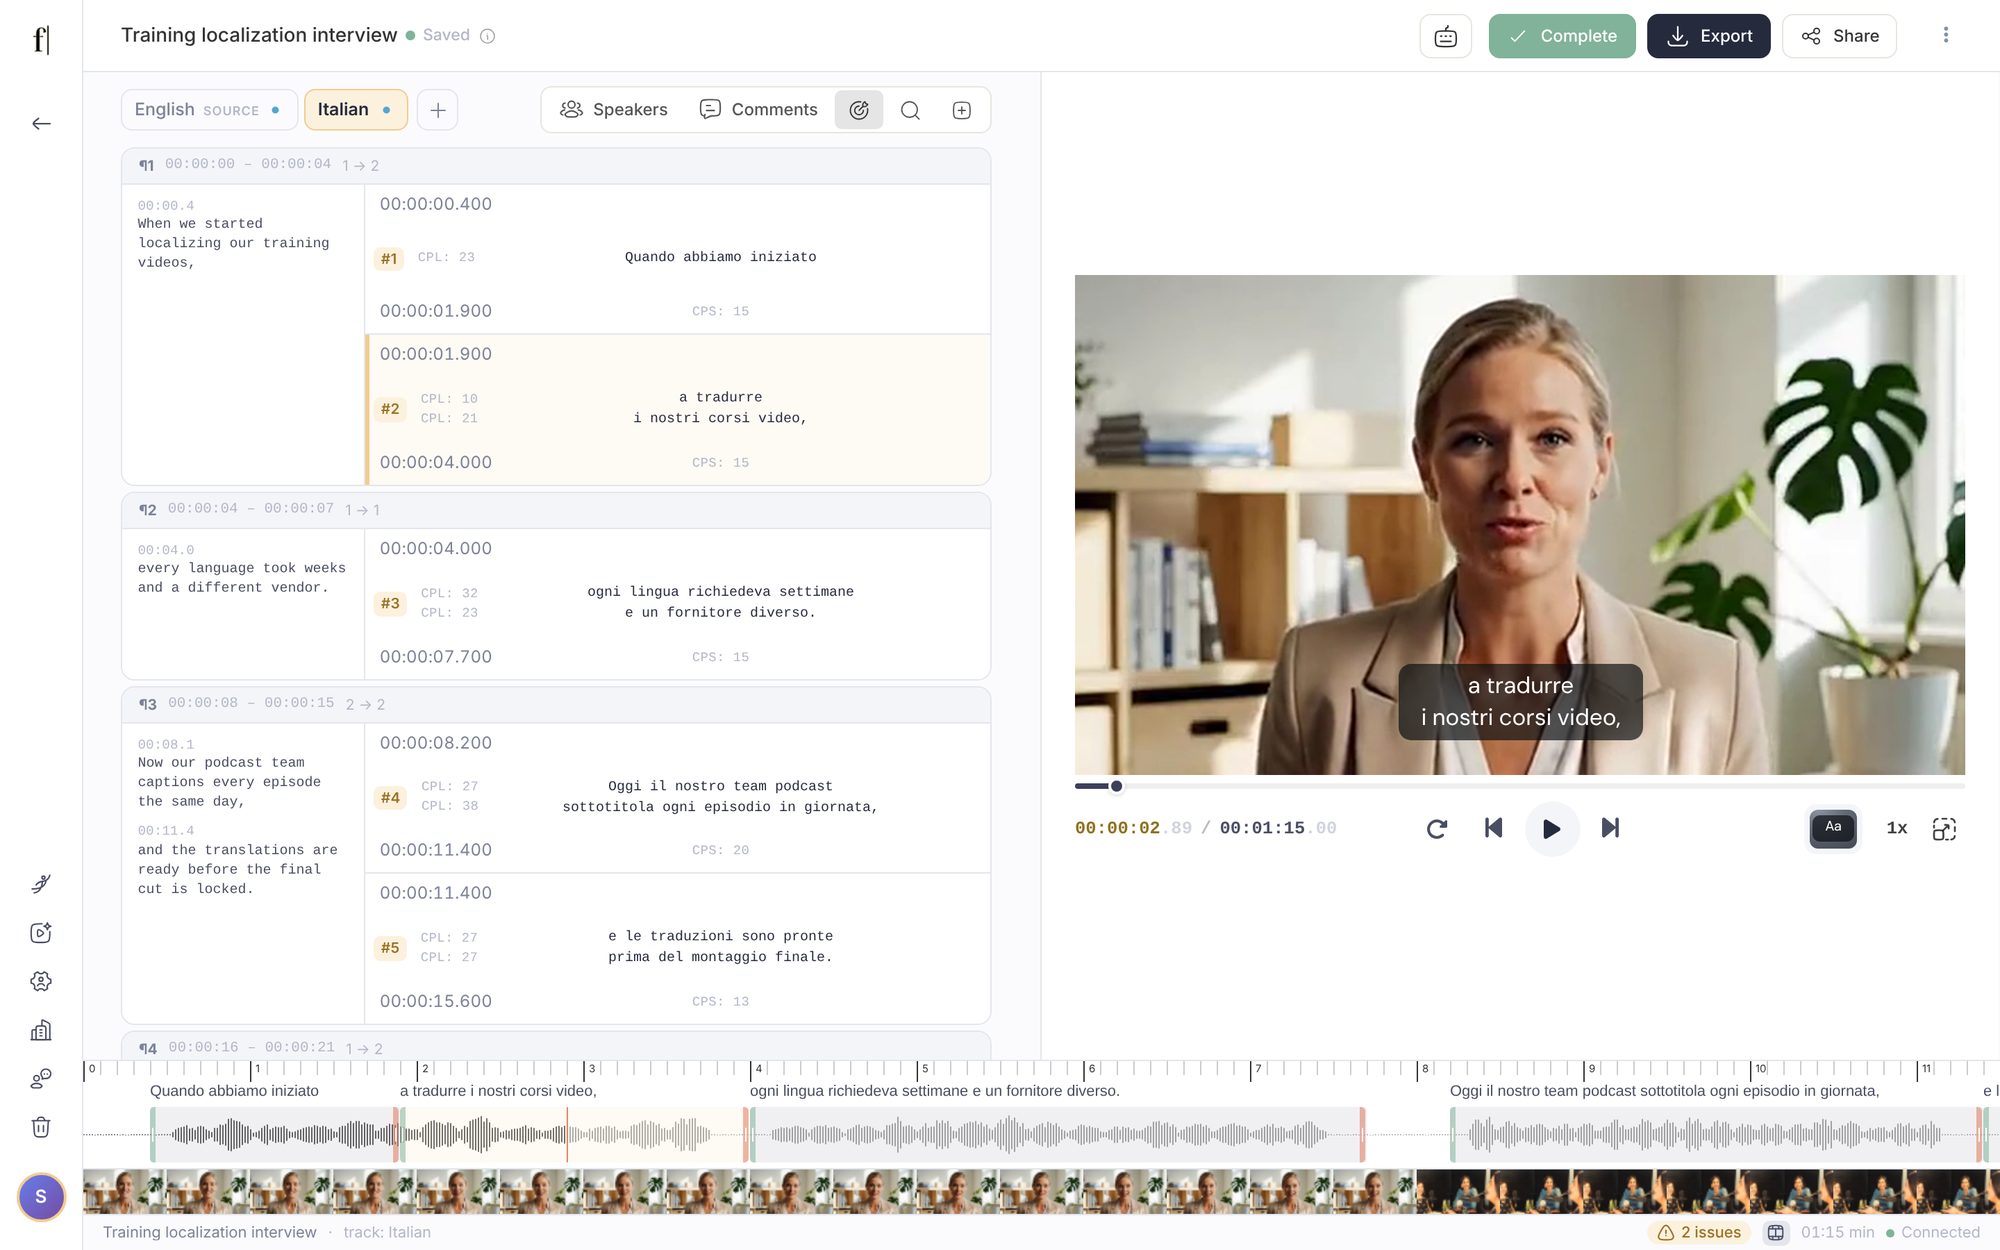
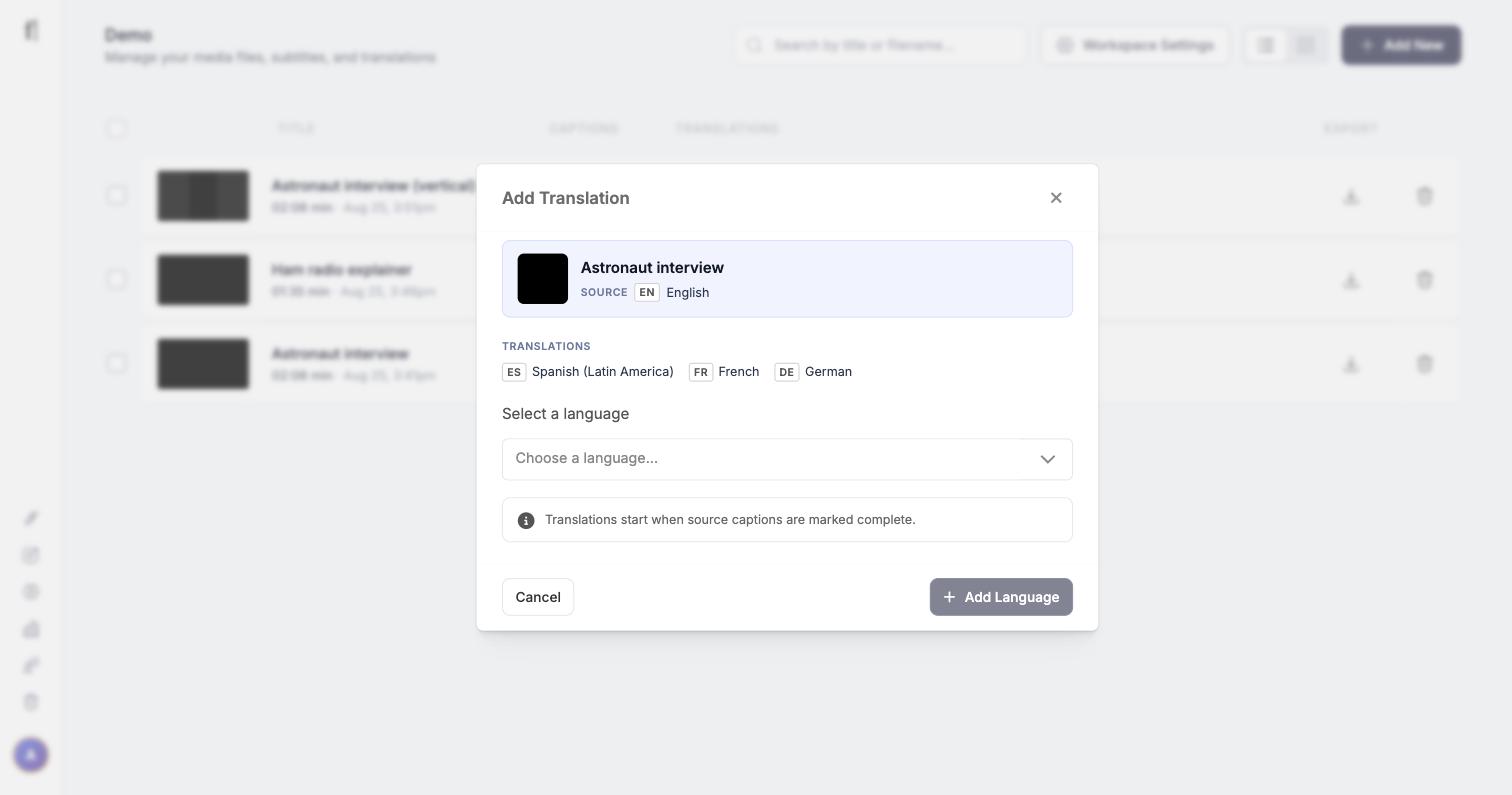
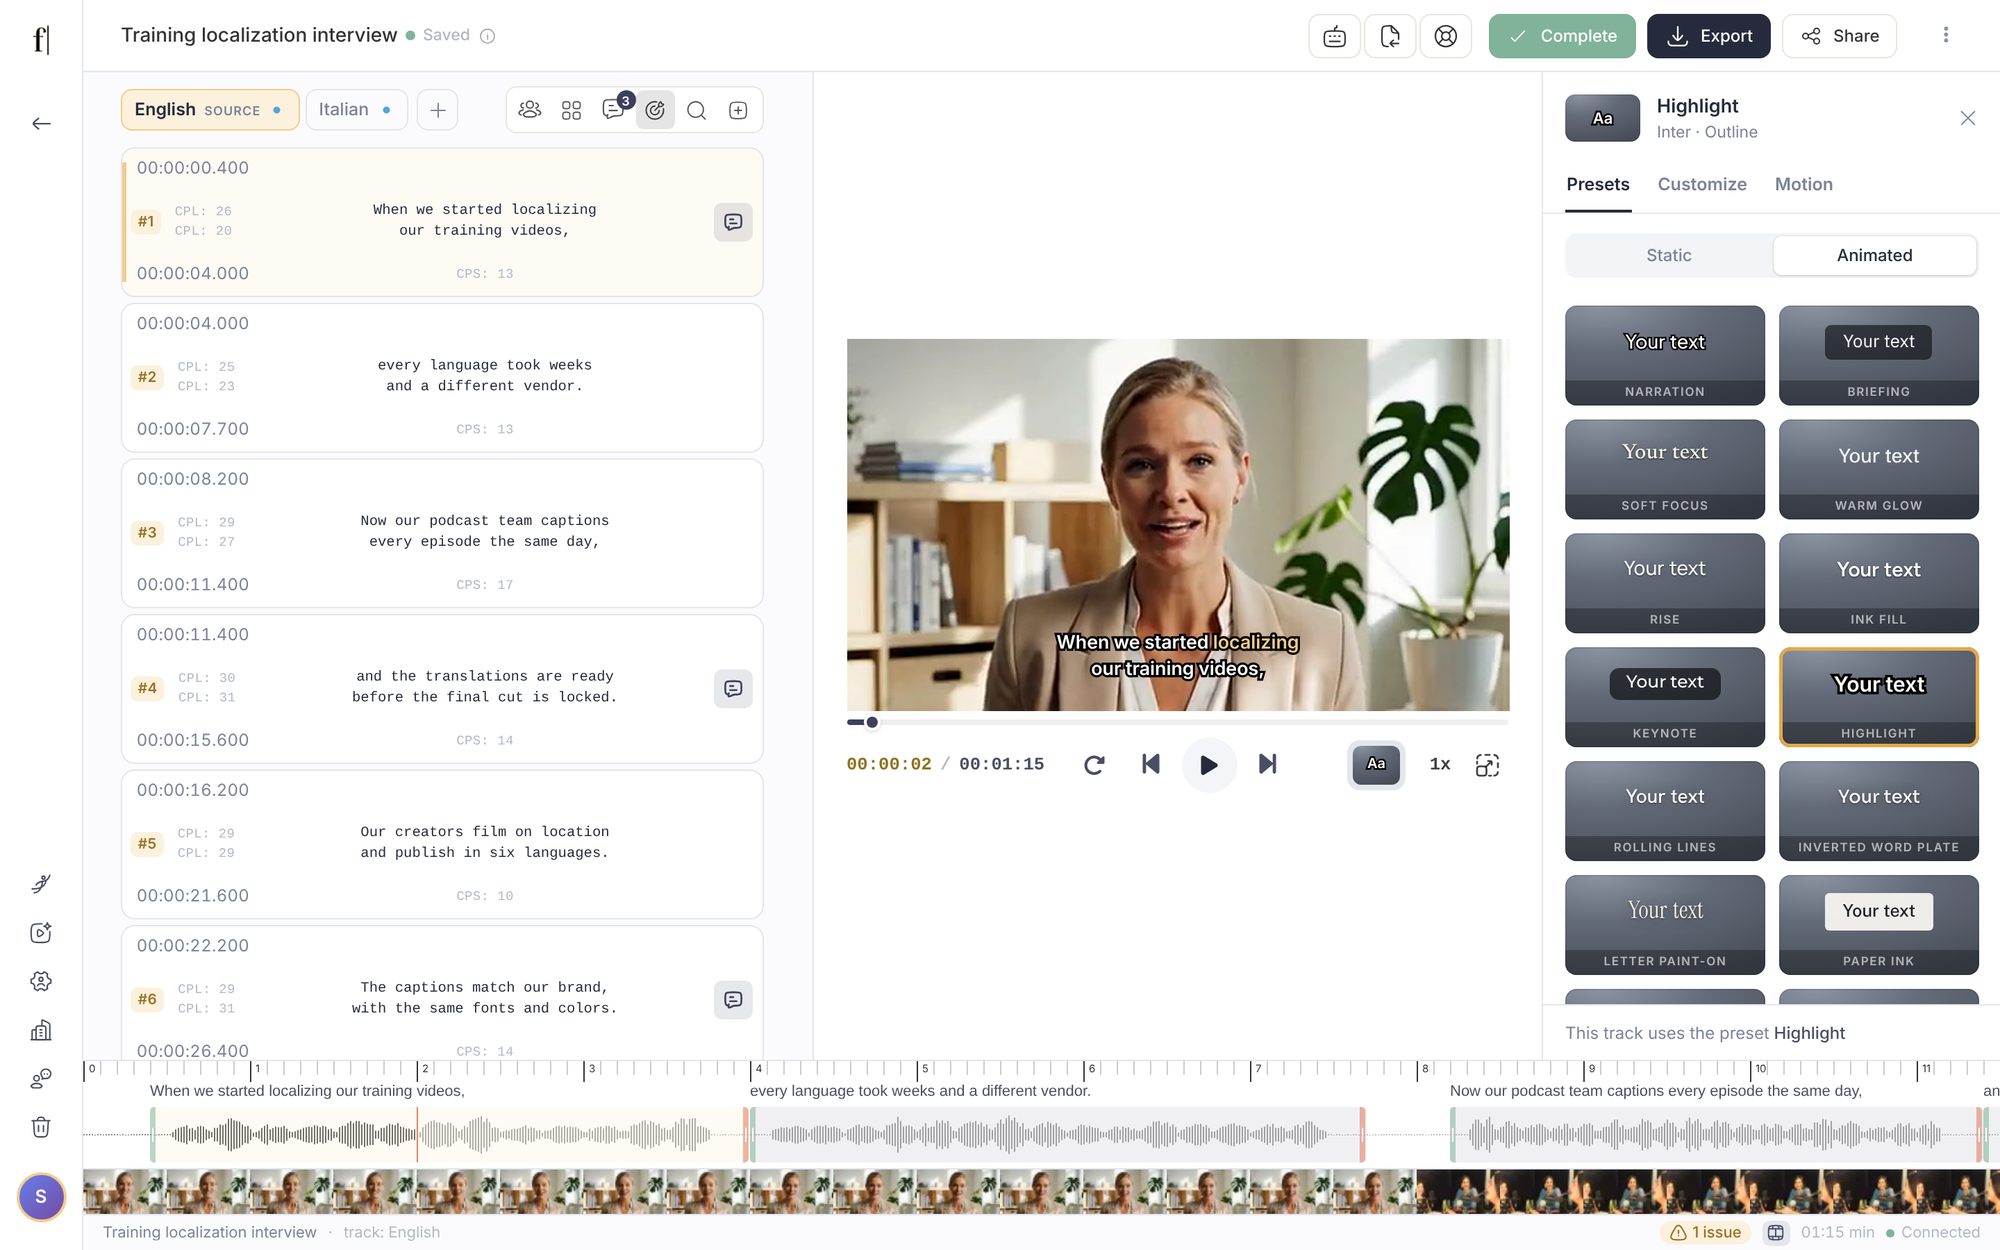
The editor lists every subtitle with its timing, characters per line and reading speed. Click any text to correct it (changes save as you type), and drag the edges of a subtitle on the timeline under the video, which shows the video's frames, the audio wave and the subtitle text, to retime it. The search icon in the toolbar finds and replaces a term that is wrong everywhere, and the issues counter at the bottom takes you to every subtitle that is too long or too fast to read. Speakers, Rules and Comments have their own toolbar buttons. The tour of the editor is in Using the editor. When the captions are right, click Complete & Translate: the translations start now, made from your corrected text. You can add more languages at any later time: the + next to the translation chips in the library opens the Add Translation dialog.
Style and position the subtitles
How the subtitles look is decided per track, in the editor. Click Caption style under the video: the panel offers more than 30 presets, Static ones that show each caption whole and Animated ones (dynamic captions) where words light up or appear as they are spoken. Customize fine-tunes the font, colours, outline, shadow and background, and Motion how words move. To move the subtitles, drag them on the video, where pink guides snap them to the centre and the safe margins. None of this changes the text, and none of it is needed for subtitle files: SRT and the other formats carry text and timing only. It matters in the editor, on share links, and when you export a video with the captions burned in.
Details: Caption styles and dynamic captions, Change the caption font, Font size and characters per line, Position captions on the video, Speaker identification.
Export
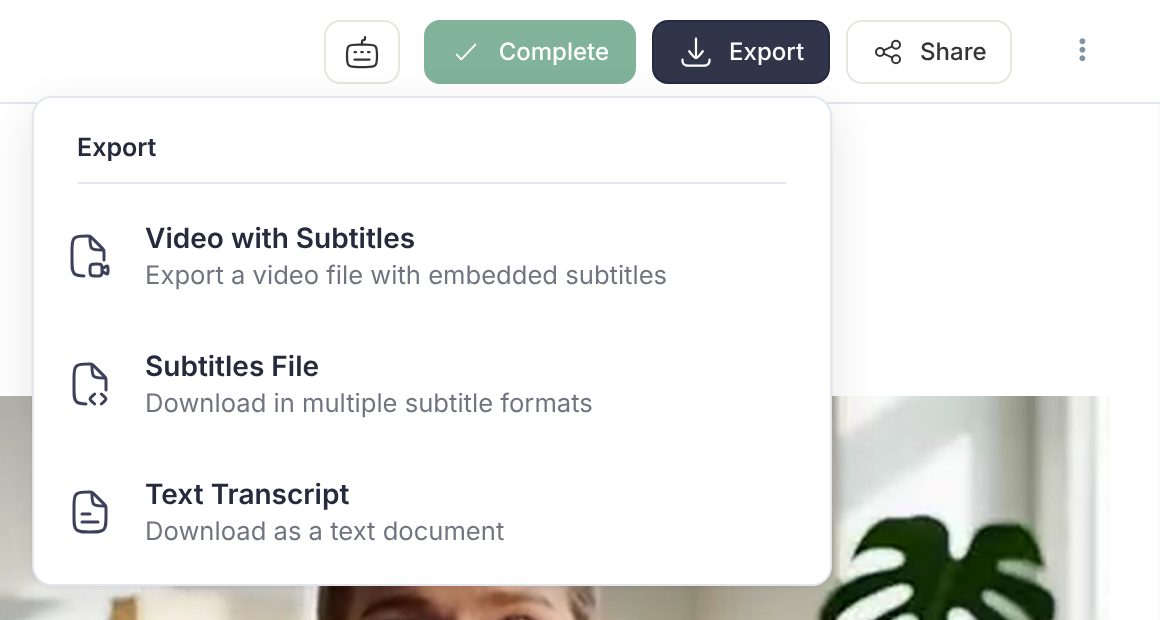
Each track has an Export button in the editor (and a download icon on the library row) with three options:
- Subtitles File: SRT, WebVTT, TTML, SSA, iTunes Timed Text, SubViewer or EBU STL, for YouTube, Premiere, Final Cut, a broadcaster, or a player. Instant.
- Video with Subtitles: an MP4 with the captions rendered into the picture, exactly as styled in the editor. Takes a few minutes; the file appears under My Exports. See Export video with burned-in subtitles.
- Text Transcript: Word, PDF or plain text, grouped by speaker when speaker labels are on.
Exports of any kind need a paid plan; on the Free plan you can review and edit everything, but not download it.
Need someone else's eyes first? Share a track for review gives you a link that works for 72 hours, with no account needed on their side. You choose whether people with the link Can view or also Can comment on individual subtitles. On the Team plan you can also send a track for a formal review that ends in an approval: see Comments, reviews and approvals.
Good to know
- Credits are charged per minute of subtitles, once for captions and once per translation language; layout changes, retries and speaker detection are free. See How Fluen pricing works.
- Changed your mind about line length? You do not upload again: Reprocess a track with new settings re-splits it in seconds.
- Your files are kept for the retention period of your plan (30 days on Free, 90 on Premium, 180 on Team, one year on Enterprise); the subtitle tracks stay available for export indefinitely.
- The words we use (track, cue, CPL, post-editing and the rest) are explained in Fluen terminology, explained.